
Wesley Littlefield 08.08.25

Learning how to set up a camping tent will make or break your trip. I was lucky enough to have my dad teach me how to pitch a tent at a young age while tent camping, so I’ve been doing this for decades.
Though there are several steps, the process doesn’t have to be complicated. In fact, I’ve broken it down into easy-to-follow steps below. Let’s get started.
Disclaimer
This article focuses on the general concept of setting up a tent. You might find that pitching your tent varies slightly from the steps below. In that case, please follow the instructions provided with your specific tent.
Step 1: Find the Spot

Setting your tent up in a good spot is often overlooked by beginners, but it shouldn’t be because pitching your tent in the wrong location can make for a terrible night’s sleep.
The perfect spot is a flat or ever-so-slightly sloped area. If possible, I like to have my tent near a wind break, like trees, a hillside, or large boulders. I also look for elevated places with little to no rocks (sometimes you can’t avoid them). This ensures I won’t get swept away in a flash flood and must move fewer rocks to have a comfortable night’s sleep.
Speaking of moving rocks, let’s discuss ground preparation.
Step 2: Prepare the Ground
Once you’ve located the best spot possible, it’s time to prepare the ground for your tent. Many beginners also overlook this step until they lie down and feel all the sticks and rocks poking them in the back.
To prepare the ground, remove all the rocks, sticks, and other pokey items that will be underneath your tent. Even if you plan to sleep on a cot, preparing the ground this way will ensure it doesn’t rock every time you roll over in the night.
It’s also critical to clear the ground at the tent’s entrance so you don’t step on sticks and rocks with your bare feet every time you enter and exit.
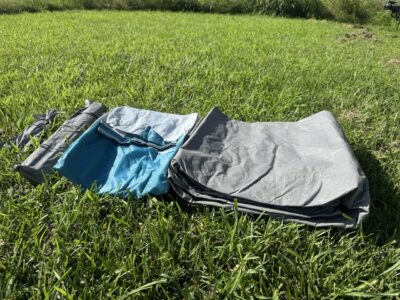
Step 3: Prepare the Tent
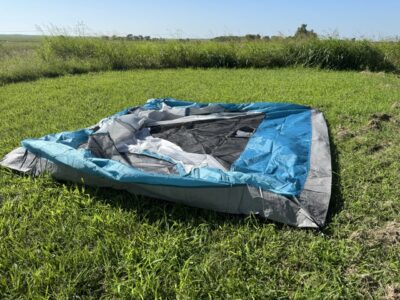
It’s time to lay your tent on the ground, which now looks like a well-manicured golf course green (or as close to that as you can manage). Unroll your tent, find the door, and face the door in your preferred direction. Then, get out your tent stakes, hammer/mallet, poles, tent cover, and other camping gear.
Step 4: Set Up & Secure the Tent
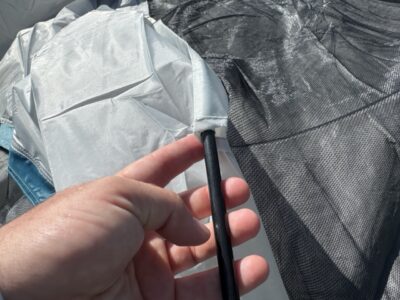
I find it easiest to extend the tent poles and begin inserting them before staking the tent. Other campers prefer to stake the tent before inserting the poles. It’s personal preference, so do as you wish.

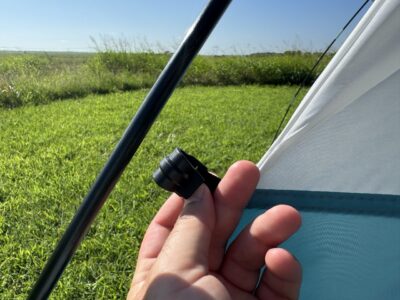
I think it’s best to guide the poles through the sleeve; otherwise, the joints tend to catch on the sleeve opening as you try to shove it through. For most tents, the poles will be in an X-pattern once they’re in the sleeves.
Now you can clip the poles to the tent along the side and slide the end of the pole into the pocket on the corner of the tent (sometimes it looks like a small loop, other times there is a clip or I-bolt that attaches to the pole). Walk to the corner directly across from the one you just inserted into the pocket and do the same. You might need some help with this, as the pole might want to slip out. Your tent should now be halfway standing on its own, which means it’s time to repeat the process with the other pole.
I’ll now stake the tent to the ground using the loop attached to the pocket where the pole was inserted. In extremely windy conditions, you might need to secure your tent to nearby trees or large rocks.
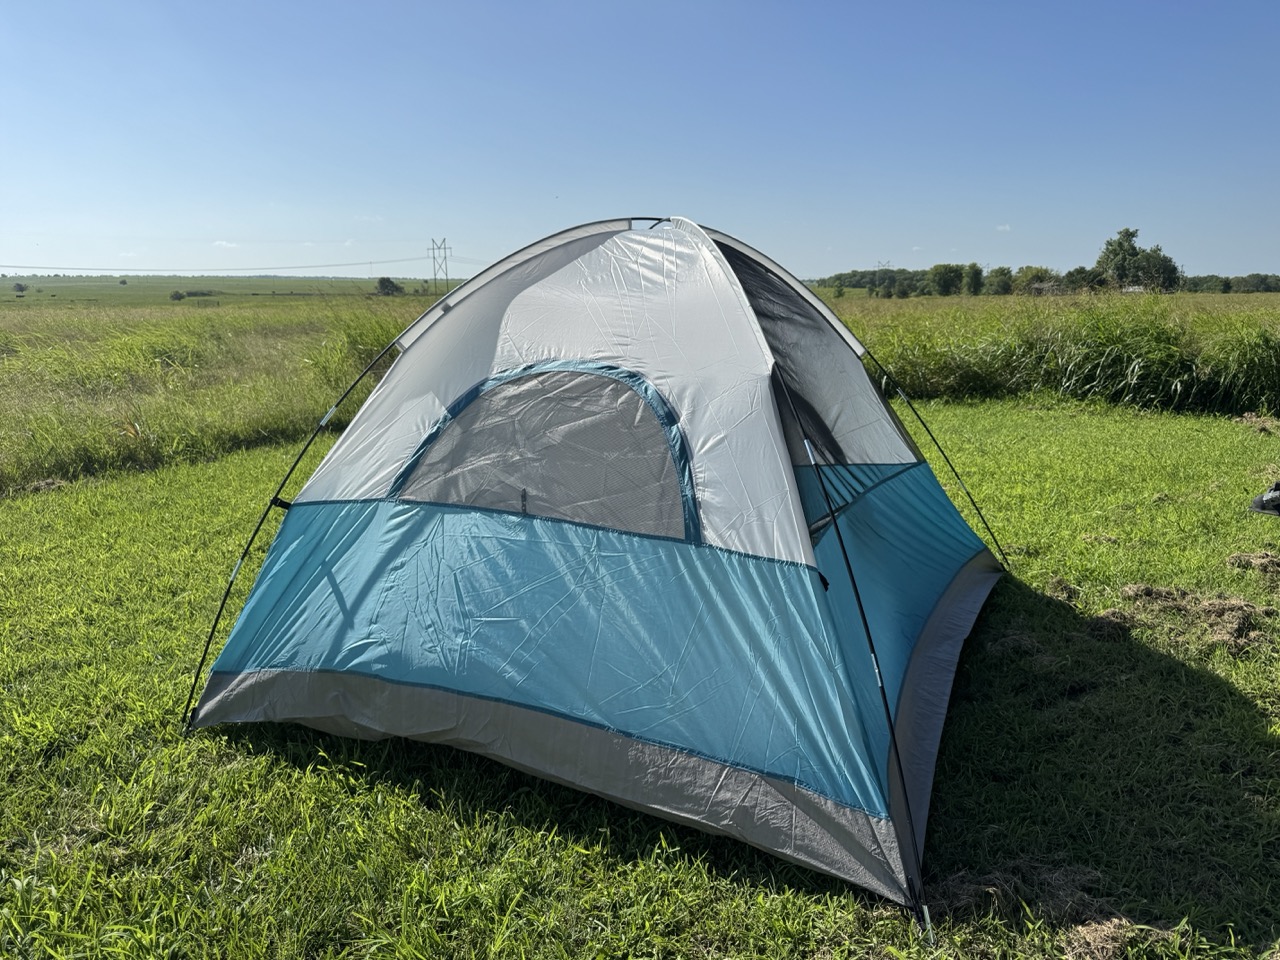
Step 5: Enjoy the Tent
Your tent is now ready for all your sleeping gear and camping items. Load that gear inside, kick back, and relax. You can also go on a hike to check out the local scenery.
Concluding Thoughts: How to Set Up A Camping Tent
Congratulations on learning how to set up a camping tent. I strongly encourage you to pitch your tent a few times in the daylight at home before camping because mastering it in the light is much easier than learning in the dark. I purchased a few tents without setting them up prior to our trip. It quickly became a bit of a headache when we arrived at our spot in the dark, and I had to pitch it in the dark.


Trending Products